
Space Saver Extraordinaire
Last time I was at Handmade Mama’s house, she showed me how she assembles her quilt blocks before she sews them together. I thought it was basically genius and knew it would be a great thing to share with you, dear readers!

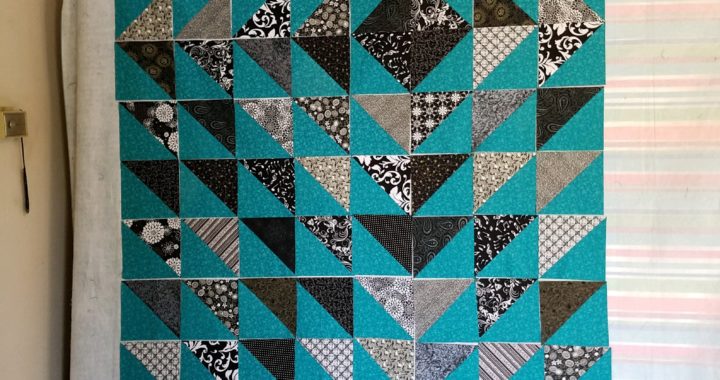
My Design Wall. I don’t have the foam boards, so I just shut the tablecloth in a closet door. It isn’t really big enough, though.
It’s often tough to find a large enough space to easily lay out your entire quilt, let alone find a place that’s easy to work and change things as necessary. This Design Wall, as it were, solved both problems by giving you a really large area to easily work on. It’s also super inexpensive and can be disassembled easily for storage.
What you’ll need:
1 Cheap Vinyl Tablecloth (the kind with the felt on the back)
Several Large Binder Clips (or Barbie Purses, as my sister and I used to call them)
2 Large Pieces of 4×8 Foam Core Board (like this or this)
Putting it together
It doesn’t matter what the tablecloth looks like. I, personally, have been using one from a couple of Thanksgivings ago. All you do is clip the vinyl tablecloth FACEDOWN to the foam core boards and start putting quilt pieces on it. Just like MAGIC, they stick. It makes arranging pieces before you pin and sew very easy and allows you to see the full quilt and make any adjustments to the block placement super painless.
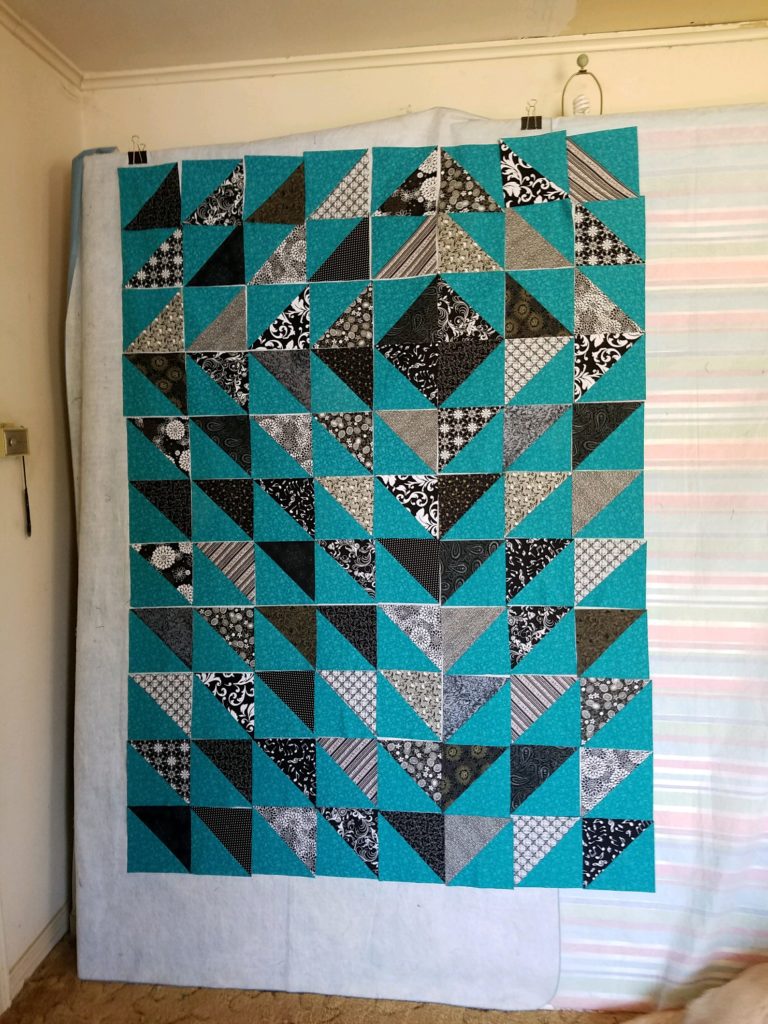
Design Wall. See the binder clips?
Then, when you’re finished, just put the foam pieces under a bed or against a wall behind a door for easy, out of the way storage. It’s a really great solution when you need a large area to plan your block placement. Hopefully this will help some of you guys with space issues!